Invitation management
The invitation management page is available to administrators only.
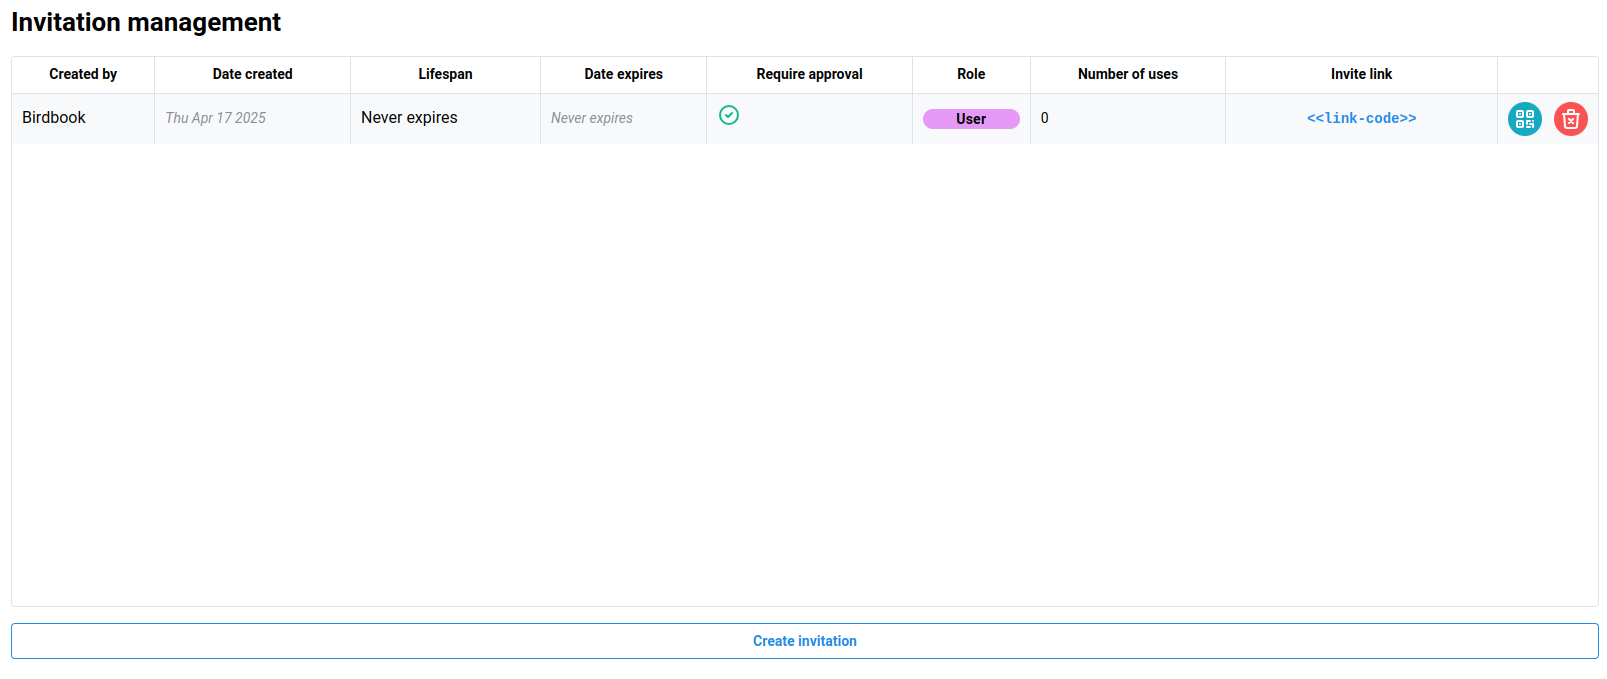
The invitation management page allows administrators to create, modify, renew, or delete invitation links. Invitation links are used to allow other user accounts to join the organization.
Creating invitations
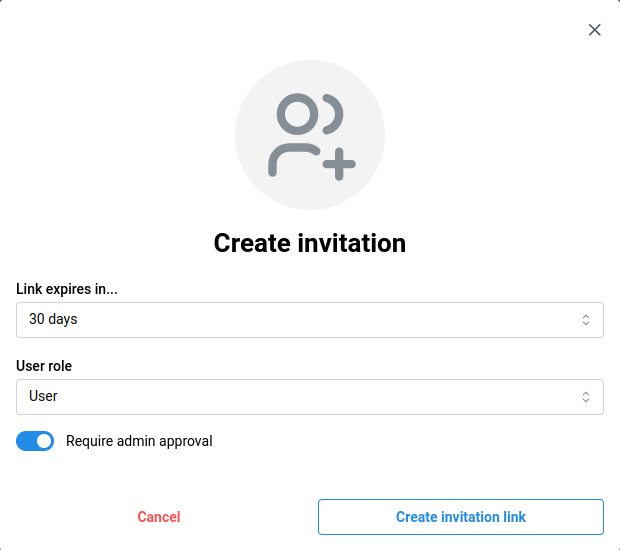
Click the blue Create invitation button to open the Create invitation dialog.
Use the provided form to set invitation settings.
| Field | Default value | Description |
|---|---|---|
| Expiration | 30 days | The expiration date of the invitation link. Options range from one day to never. |
| User role | User | Sets the invited role for users that use the invitation. |
| Require admin approval | ✅ | Dictates whether the use of the invitation requires further administrator approval or automatically allows the user into the organization. |
Sending invitations
Once an invitation has been created, there are multiple ways to send the invitation. The first is sending the invitation link. To copy the invitation link, click the Invite link in the table.
Another way is to use a QR code to allow users to get to the invitation by scanning the code with their phone. Click the teal QR code icon to open a dialog with the QR code. This can be copied or downloaded to then be printed and displayed within the organization as desired.
Renewing invitations
If an invitation is expired, users will be unable to use the invitation. If this occurs, administrators must either create a new invitation link, or, renew the invitation link. To renew the invitation, click the blue Renew icon in the table to renew the invitation. This effectively changes the Date created field for the invitation, allowing users to once again use it.
Deleting invitations
To delete an invitation link, click the red Delete icon in the table. This will open a confirmation dialog confirmation the action.